Quick Stack Tutorial: Webflow's New Grid

.avif)
.avif)
.avif)
.avif)
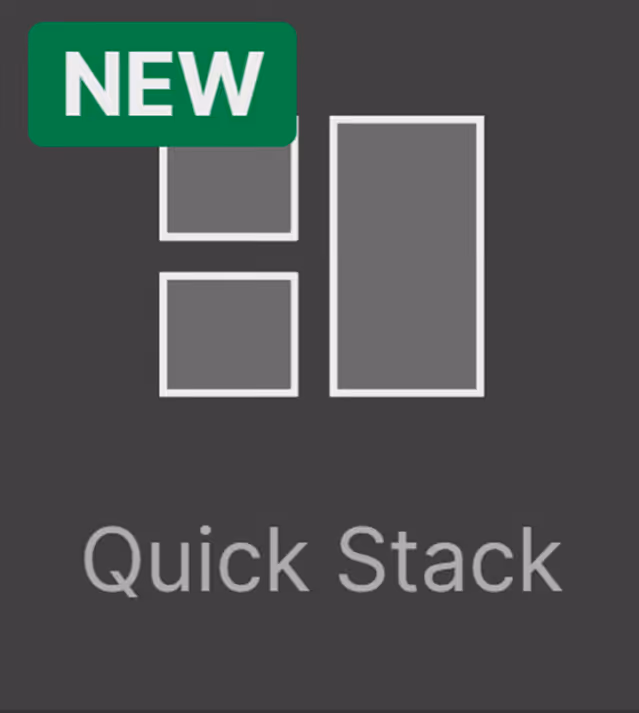
Webflow recently added a new structure to integrate into your projects:
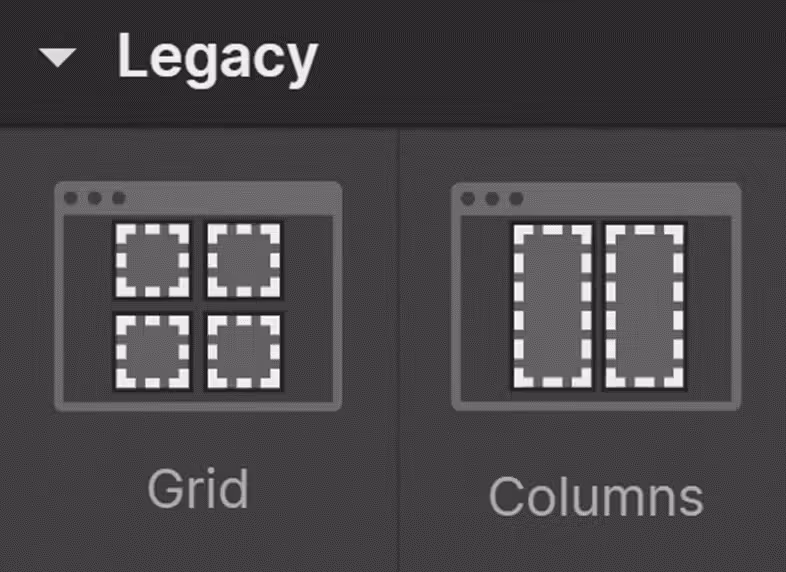
Quick Stack. This structure is an improvement that replaces the "Grid" element, which is now available in the "Legacy" tab.
How does Quick Stack work, and why is it an improvement over previously available elements?
This article introduces you to this new intuitive and versatile tool that will help you save time and increase efficiency in your Webflow projects!
I. What is Webflow Quick Stack?
Quick Stack is a structure that allows you to place elements (text, images, videos, etc.) on a Webflow page using a grid.
Previously, the "Grid" or "Columns" tools were used to achieve this result. However, these elements had limitations or flaws that made them less practical to use. Cells only accepted a single element by default, and managing the grid display on mobile had to be configured manually…
Quick Stack offers an all-in-one solution that meets all these demands! In fact, Quick Stack uses the same structure as a "Grid", but each cell generated by the table is directly equipped with a "Flexbox"!
As a reminder, Flexbox is a CSS property that aligns your elements horizontally by default.
However, you have great flexibility to align your elements differently: vertically, in reverse...
The advantages of this cell structure are numerous.
• Add multiple elements to a single cell: previously, adding a "Div Block" was necessary to add multiple elements
• Align elements within the cell: horizontally, vertically... Take advantage of the flexibility of a "Flexbox".
• Better Responsive Handling : when switching from the desktop version to the mobile version, Quick Stack will automatically align your content to achieve a consistent and structured display.
II. How to use Quick Stack on a Webflow page?
A. Add a Quick Stack element to your Webflow page
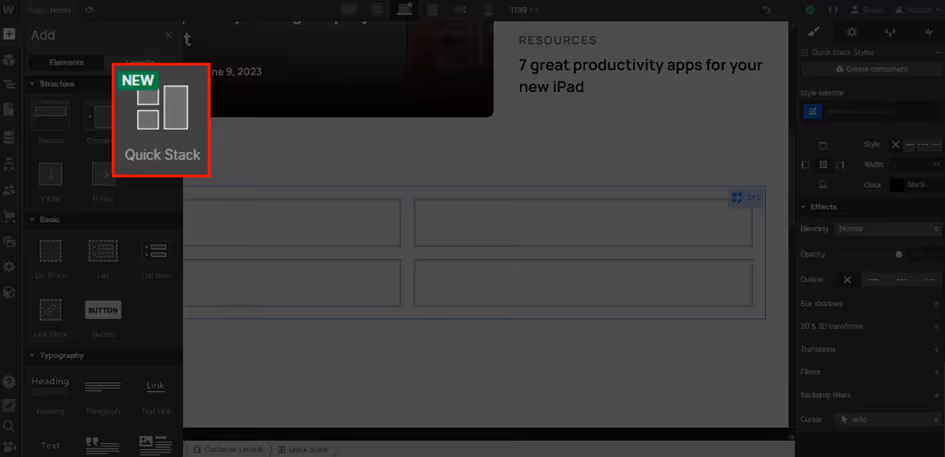
Start by adding a Quick Stack grid to your page. The Quick Stack element is located in the "Add" tab, under the "Structure" section.
B. Select the desired configuration
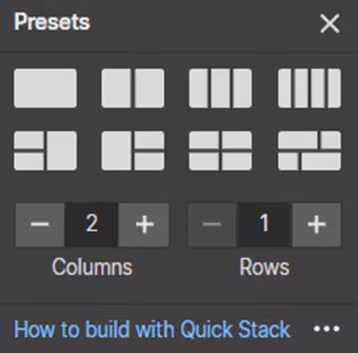
Once the Quick Stack grid is added, a window will offer you default configurations.
Select the configuration that best suits your needs or opt for a custom configuration by specifying the desired number of columns and rows.
C. Add content to your cells
To add content to your cells, simply select them and then add a Webflow element such as an image, a heading, a paragraph, a video, etc.
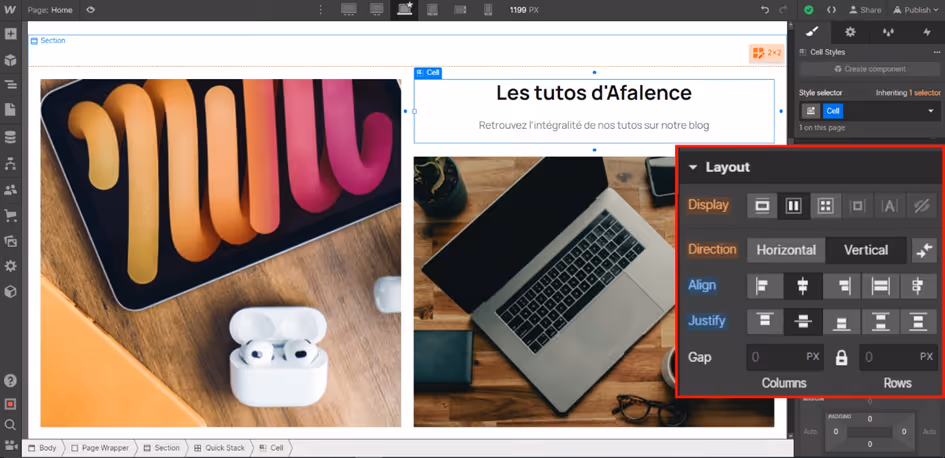
You can add multiple elements within a cell, and use the "Layout" panel to align them as you wish. In the example provided, the text within the cell is vertically and horizontally centered.
D. Customize the grid
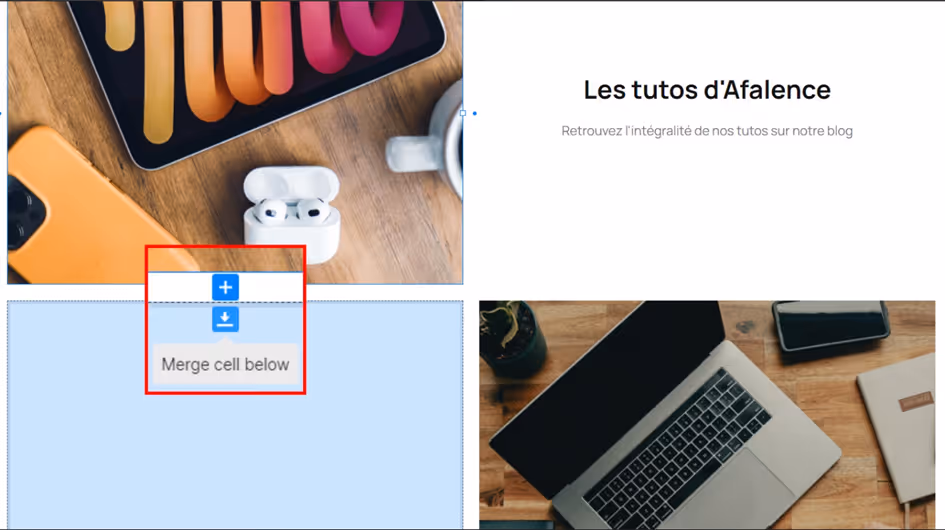
To refine the visual appeal and achieve aesthetic and modern results, you can merge cells by selecting the "Merge cell" button. This allows you to build more complex structures and achieve a more customized result.
E. Make the Quick Stack grid responsive
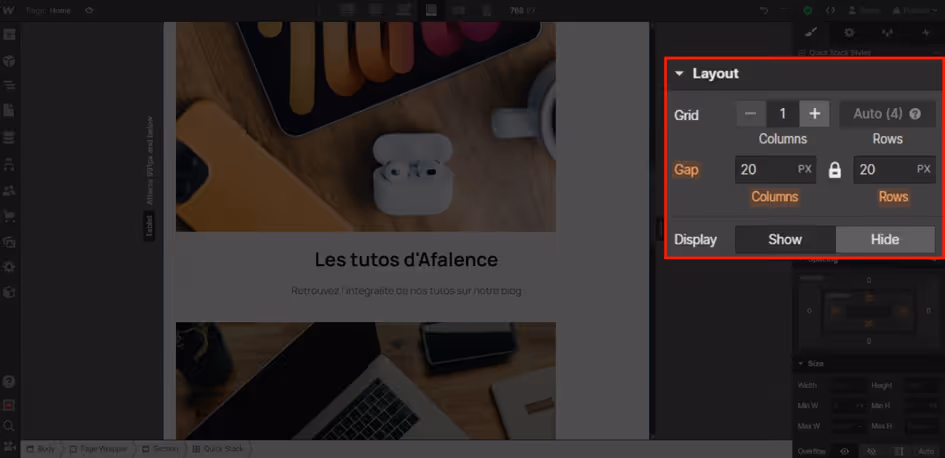
To modify your grid's configuration based on the display mode, change the number of columns in the "Layout" panel. This change is applied to the breakpoint (screen size) you are currently working on.
This configuration cascades down to smaller screen sizes, just like other elements in Webflow.
Conclusion
You can now integrate Quick Stack grids into your Webflow projects and enjoy the versatility of this tool!
Webflow is a tool that gets better every day thanks to its efficient development team, which offers new features and options regularly. Additions like Webflow Logic allow Webflow developers to create even more precise and polished websites.
To learn more about this tool and its updates, we invite you to check out our articles on Webflow!

See also our other articles
Let's discuss your needs
Are you looking for a web agency for your project? Contact us and find out how we can help you.