How to Add a Font in Figma and Optimize Your Text's Visuals

.avif)
.avif)
.avif)
.avif)
Figma is the most comprehensive tool for creating a website or application mockup.
This tool offers numerous advantages and possibilities, which we present in our article on Figma and its benefits.
Figma also has many plugins, presented in our dedicated article on plugins, which allow you to perform many actions more simply or efficiently.
However, managing fonts in Figma can sometimes seem complicated.
In this article, we explain everything you need to know about fonts in Figma and how to add a custom font to Figma.

I. Choosing a Font in Figma
1. Use an available font in Figma
To use a font already available in Figma, simply select the text you want to modify, then choose the appropriate font in the "Design" toolbar on the right side of the workspace.
You can also set a font when you create the text box, before you start typing.
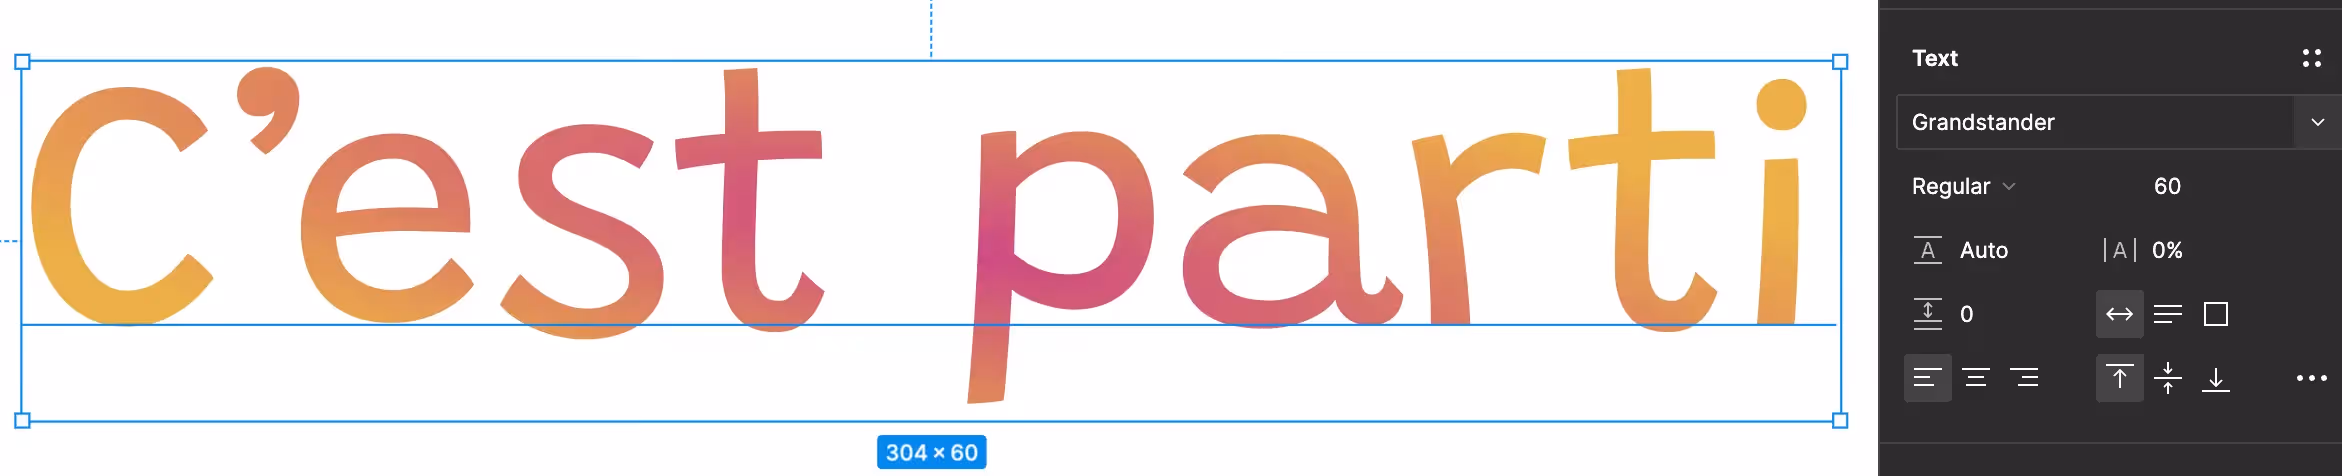
Tip: To preview fonts and choose the one that suits you best, use the plugin Better Font Picker. This allows you to get a real-time preview of what your text looks like with the fonts available in your Figma interface.
2. All about working with text in Figma
Figma offers many features to help you work with your text.
For example, you can set the text to be all caps, or conversely, all lowercase. You can create lists and bullet points, or even underline text. You can adjust stroke thickness, inclination, line spacing, and paragraph spacing…
We recommend exploring the advanced modifications panel so it holds no more secrets for you.

Tip: You can apply different effects to each paragraph or group of words within a text block. However, it's better to create a separate text block for each style, effect, or shape you want to apply to make your work more readable and easily editable.
Tip: We recommend creating font "Styles" with the characteristics you use frequently. This will save you a lot of time in your work!
II. Add a Font in Figma
1. Choose the Font to Import into Figma
First, select the font you wish to import into Figma. Two scenarios may arise:
- You already have this font on your computer. Go directly to the 3rd part!
- You don't yet have the chosen font on your computer. Therefore, you first need to download it.
If you are looking for a font, there are websites that list royalty-free fonts. Here are a few: Google Fonts, MyFonts, DaFont, DaFontFree, Adobe Fonts, Freepik, 1001 Fonts.
Tip: If you're working for someone who already has a brand guide, you can ask them to provide you with the font file to use to save time.
2. Download a font to your computer
Once you've found the ideal royalty-free font, you need to download it properly.
To do this, follow these steps:
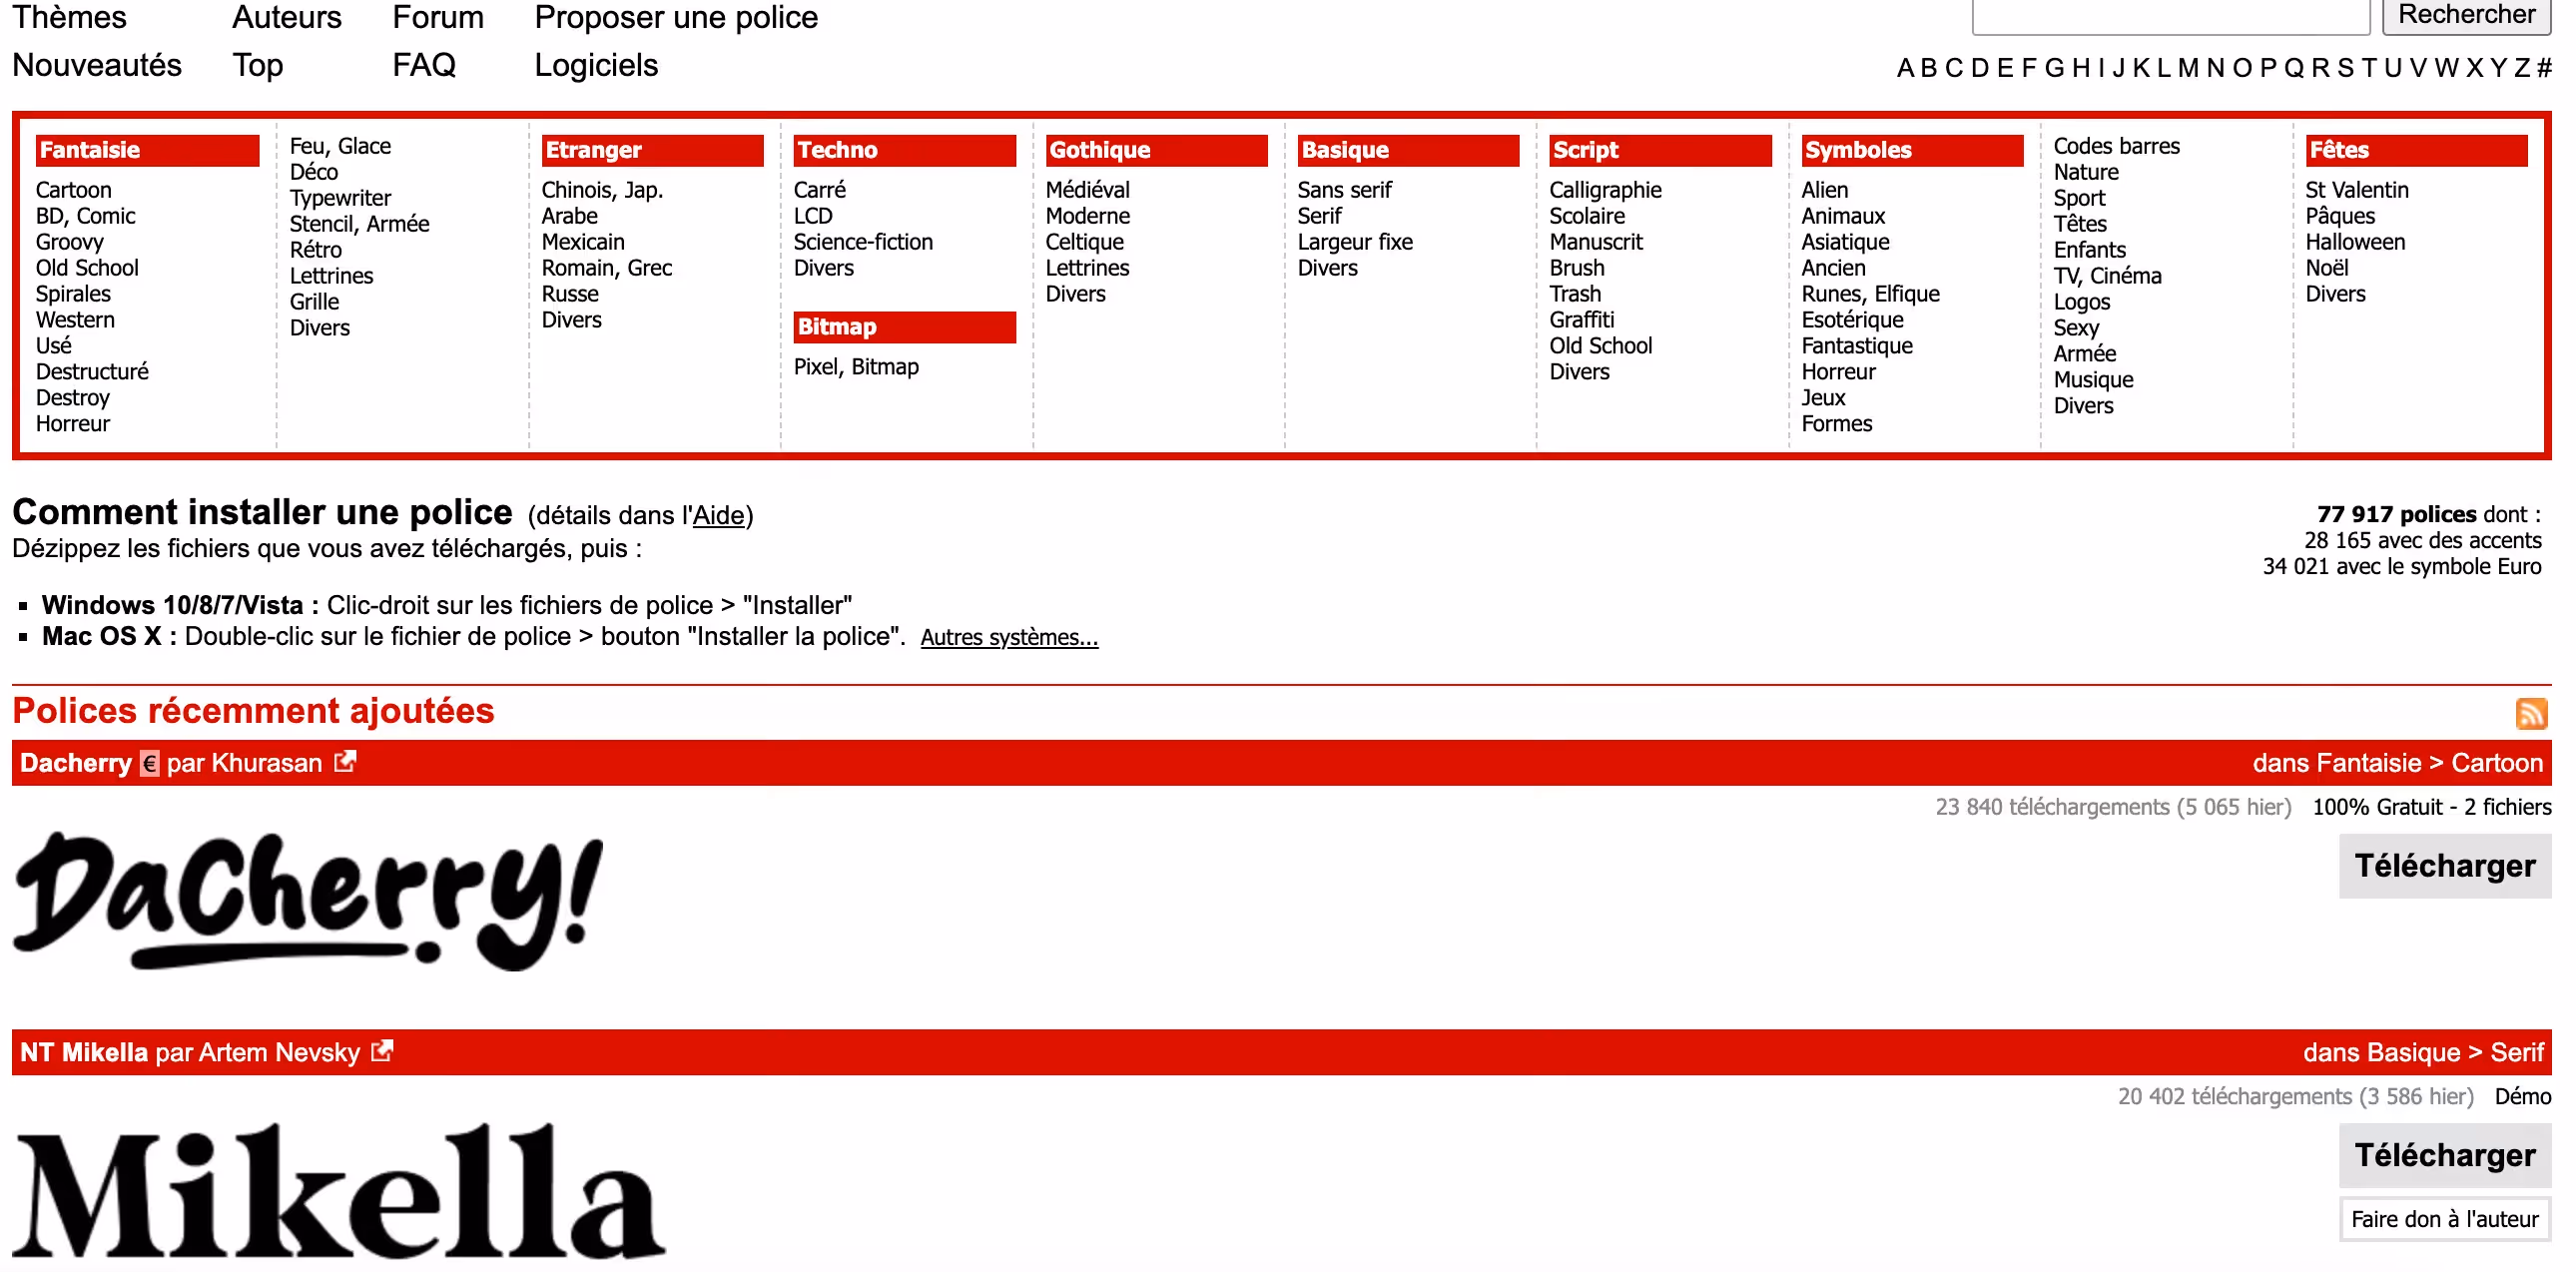
- Choose the font you want to import and click download. Here, Sunshine Formula on Dafont:

- Once the font is downloaded, it will be in a zip file on your device. Unzip the file to reveal a font file (automatic on Mac).

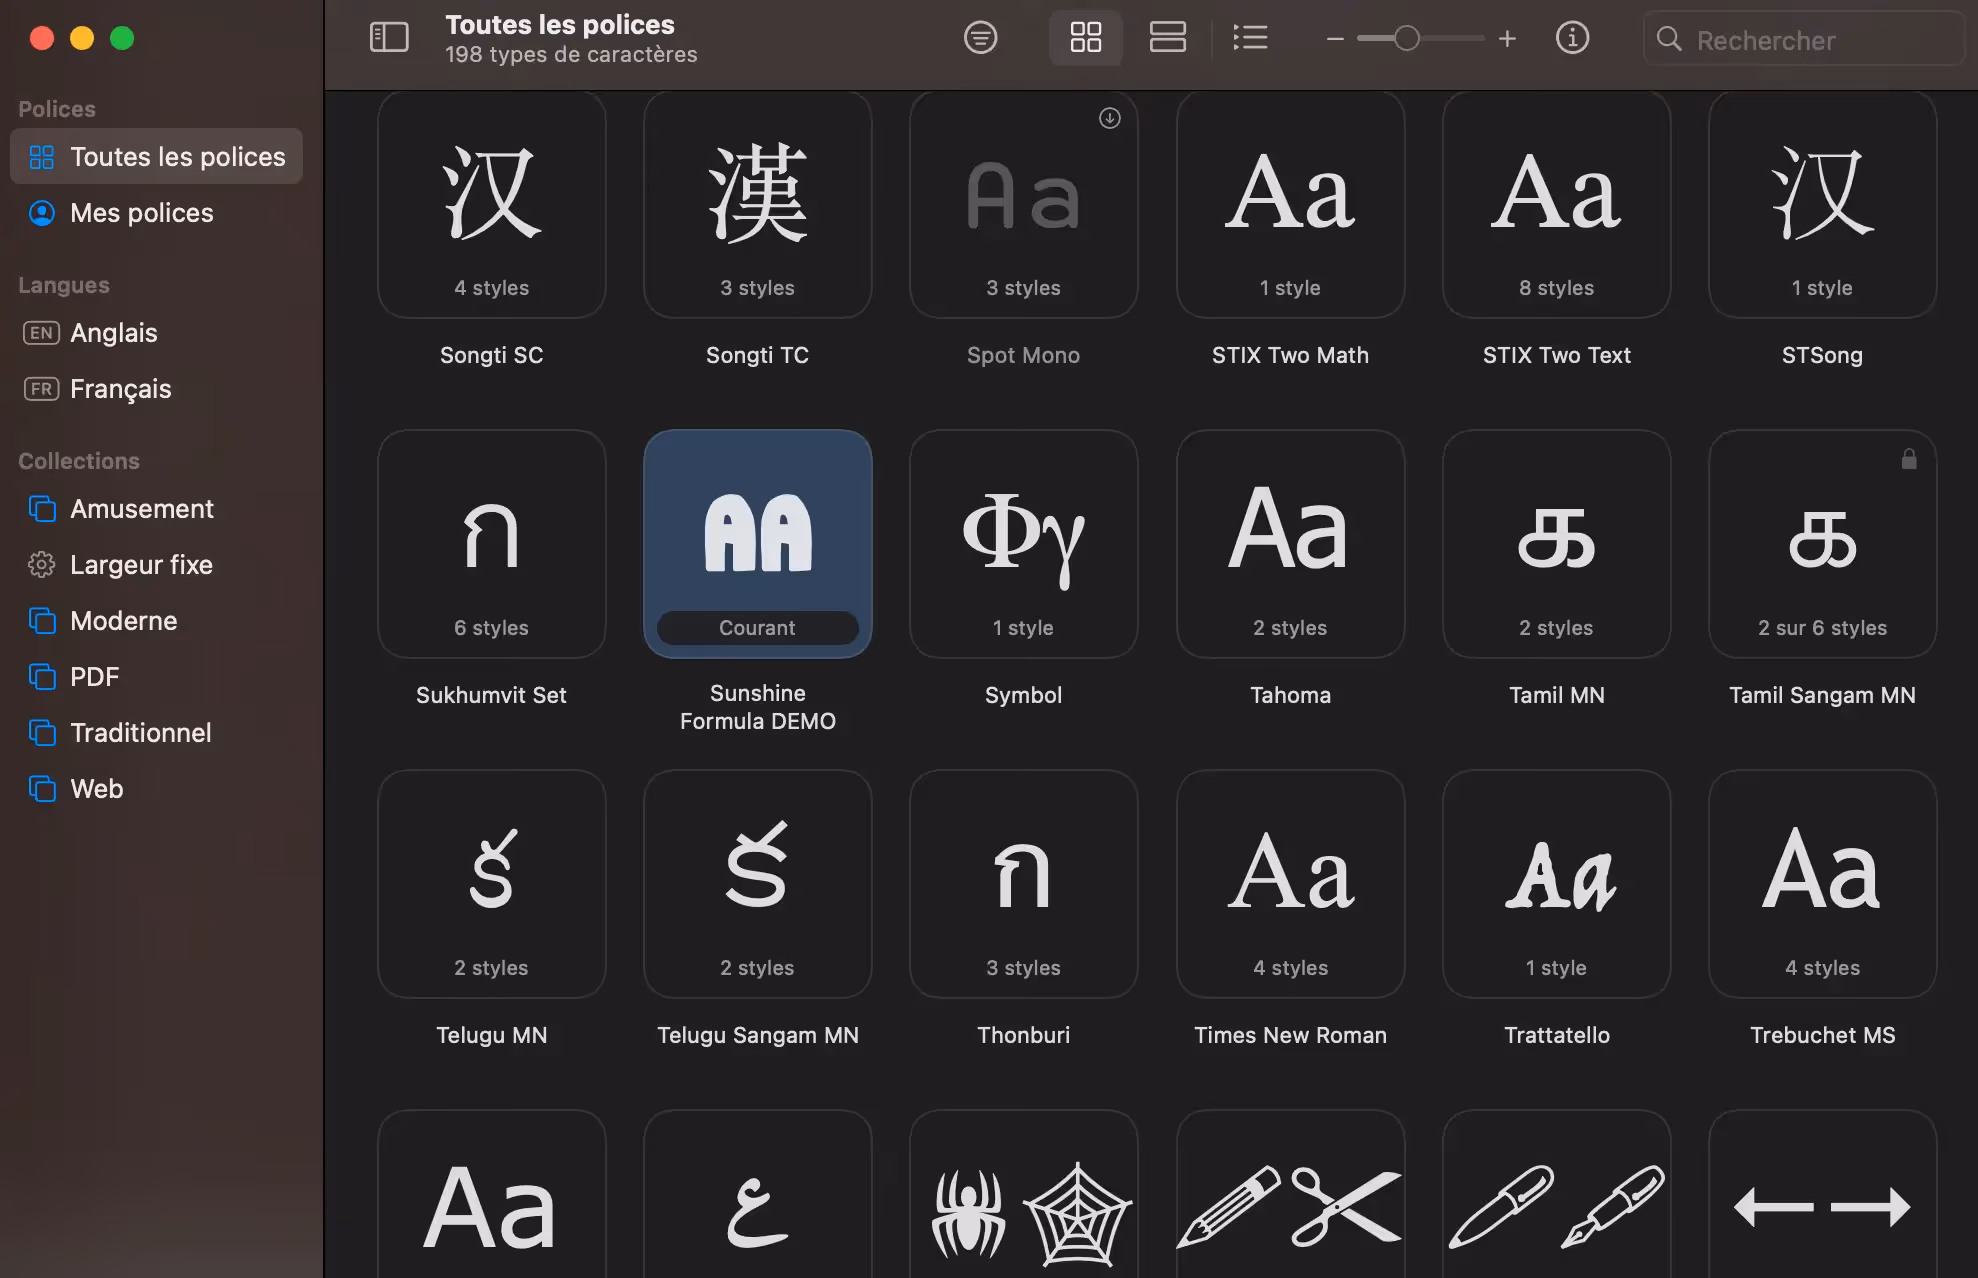
- You can now install it on your device.


- Once the font is installed on your device, you can find it in the designated directory.
3. Importing a font from a computer into Figma
Now that the font is installed on your computer, it's directly integrated into Figma.
To find it in your favorite design tool, you just need to refresh your Figma tab or restart the Figma application.
Your font will now appear among all available fonts in Figma!

Tip: Some fonts may have so many different variations that you need to download multiple files to have all their elements in Figma. If this is the case, simply repeat the process with the missing files.
Tip: If you have defined and used a style in your work, you can change the font of the style to directly modify all texts to which it has been applied.
Now you know everything about adding fonts to Figma! To further your knowledge of the tool, you can check out our article on managing images in Figma or the one on using plugins in Figma.

See also our other articles
Let's discuss your needs
Are you looking for a web agency for your project? Contact us and find out how we can help you.