How to use Figma: Our 10 tips for mastering the tool!

.avif)
.avif)
.avif)
.avif)
You've downloaded Figma and started exploring all its features. In this article, we provide 10 essential tips to help you get started and make the most of Figma's capabilities!
1. Effectively Use Figma Pages and Frames
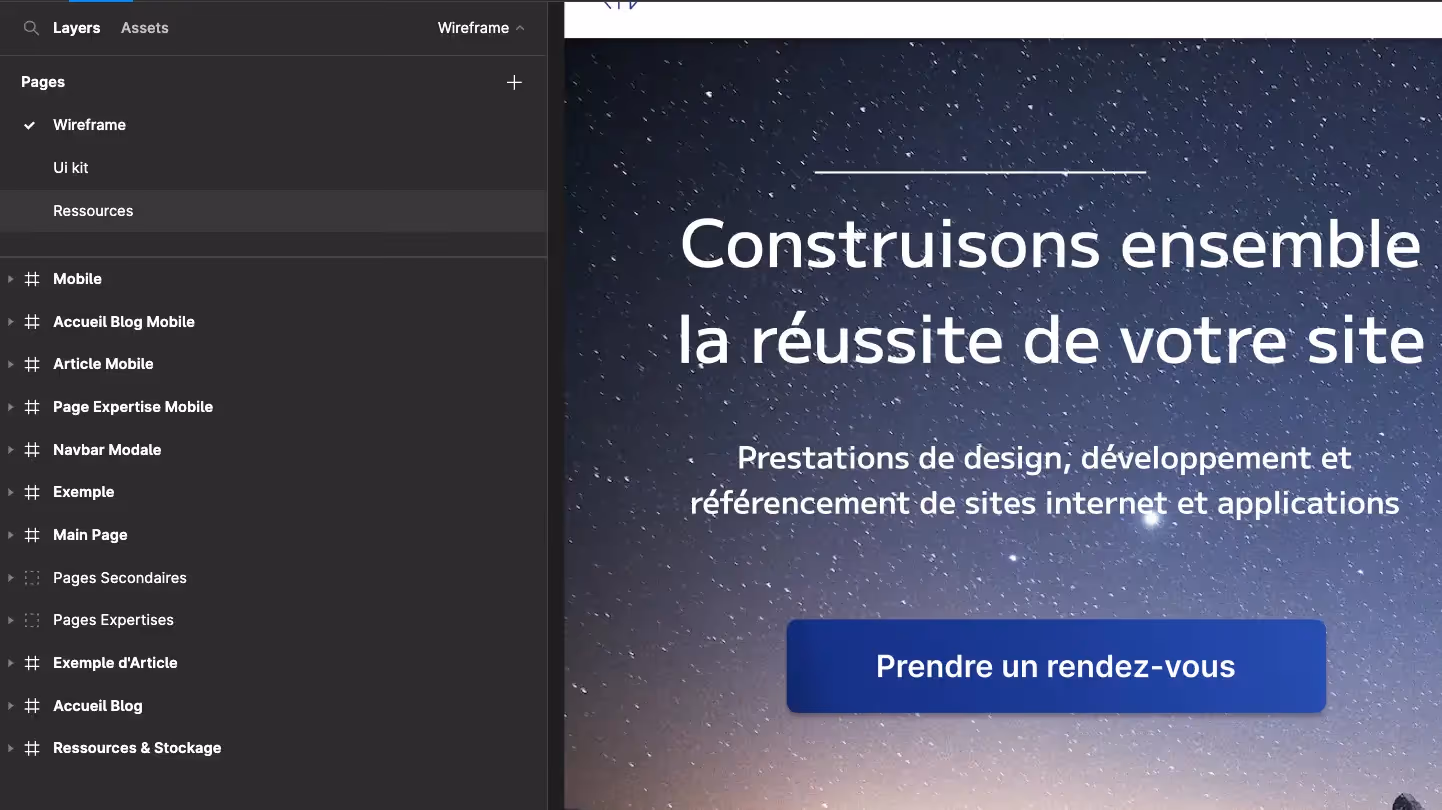
Even in its free version, Figma allows you to create up to 6 shared pages within your various projects. Make the most of it! Properly organizing and naming your pages is essential for efficiency and to easily locate the various elements you create over time.
Similarly, allocate each frame you create to a specific function. The majority of frames are generally dedicated to representing a screen of the project you are working on.
However, you can also use them to place various elements you need (high-definition photos, components, UI elements, etc.).
Tip: Consider moving these frames away from your main project and renaming them 'Resources', for example.
2. Name All Elements You Create in Figma
It is crucial to name all elements you use in Figma to maintain clarity. This practice offers two major benefits:
- You will be able to find each element much more easily when you need it.
- Your collaborators will also be able to work on your document and understand its contents.
Tip: To find a "lost" element in your vertical element bar on the left, select it by clicking on it in your workspace. The element will then be selected on the left, and you can rename it appropriately!
Tip: To rename an element, simply double-click on its name, whether in your workspace or in the elements bar on the right.

3. Organizing your workspace
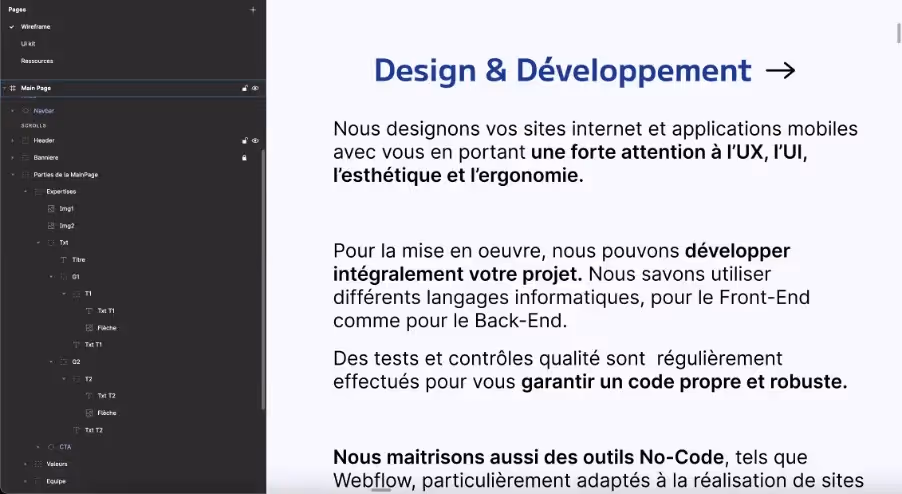
In addition to naming elements correctly, organizing your workspace well is essential: we recommend that you group elements together and form different groups within larger groups to display only the essential information.
This will also help you to prioritize and logically group elements.
Tip: The keyboard shortcut to group selected elements is Ctrl/Command + G.
Tip: An element located above another in your vertical element bar on the left will also be above the second one in your workspace. Group and prioritize elements correctly to be able to modify everything quickly!
4. Work in Stages
To work efficiently in Figma, proceed in stages. For example, adding all the visual design and animations to your prototype before even validating your project's structure would be a huge mistake.
Indeed, if structural changes were needed, you would have to start all over again.
Thus, we recommend that you start each project with basic shapes and elements that will serve as "placeholders". This means they temporarily hold the spot for a design element that will be added later.
This helps visualize the project's aesthetic in an abstract way and to work on the user experience, for example.
Once you have validated the overall organization of your project and your wireframe is approved, you can add the visual design. Texts, images, graphic elements, and interactions should be added at this stage.
Tip: Start your mockups with dummy texts and titles. This way, you'll be less hesitant to modify or delete them. You can use the "Lorem Ipsum" plugin to easily generate dummy texts.

5. Use styles for efficiency in Figma
A style is a template that you can define to apply a single rule to various elements as needed. Specifically, styles are applied to two types of elements:
- Text. You can define text styles : font, size, stroke weight, capitalization... Applying the same codes to different elements in your project will save you time and ensure graphic consistency, which will improve the final rendering.
- Colors. Defining each color from the brand guidelines you're working with as a style will keep them readily accessible.
Tip: Make sure to name your styles appropriately ("H1", "text", "sub-text"). For colors, it's recommended to name the primary color "primary color" and not "blue X". This way, if the primary color changes, you won't have to rename it.

6. Create Components
When you create an element that you plan to reuse (button, animated title, etc.), you can turn it into a component.
A component is an element template that you will always have access to, so you can easily integrate it into your work.
The original version is called a 'parent' component, and its variations included in your project are called 'child' components.
Please note, it is not possible to modify a parent component from one of its child components.
Conversely, modifying a parent component will consequently update all linked child components.
It is highly recommended to create your components in a dedicated space, whether that's a page or a frame. This is typically done within the UI Kit.
As a reminder, the UI kit is the dedicated space for storing all user interface-related information. This includes visual elements like the brand guidelines and original style versions, as well as parent components and images.
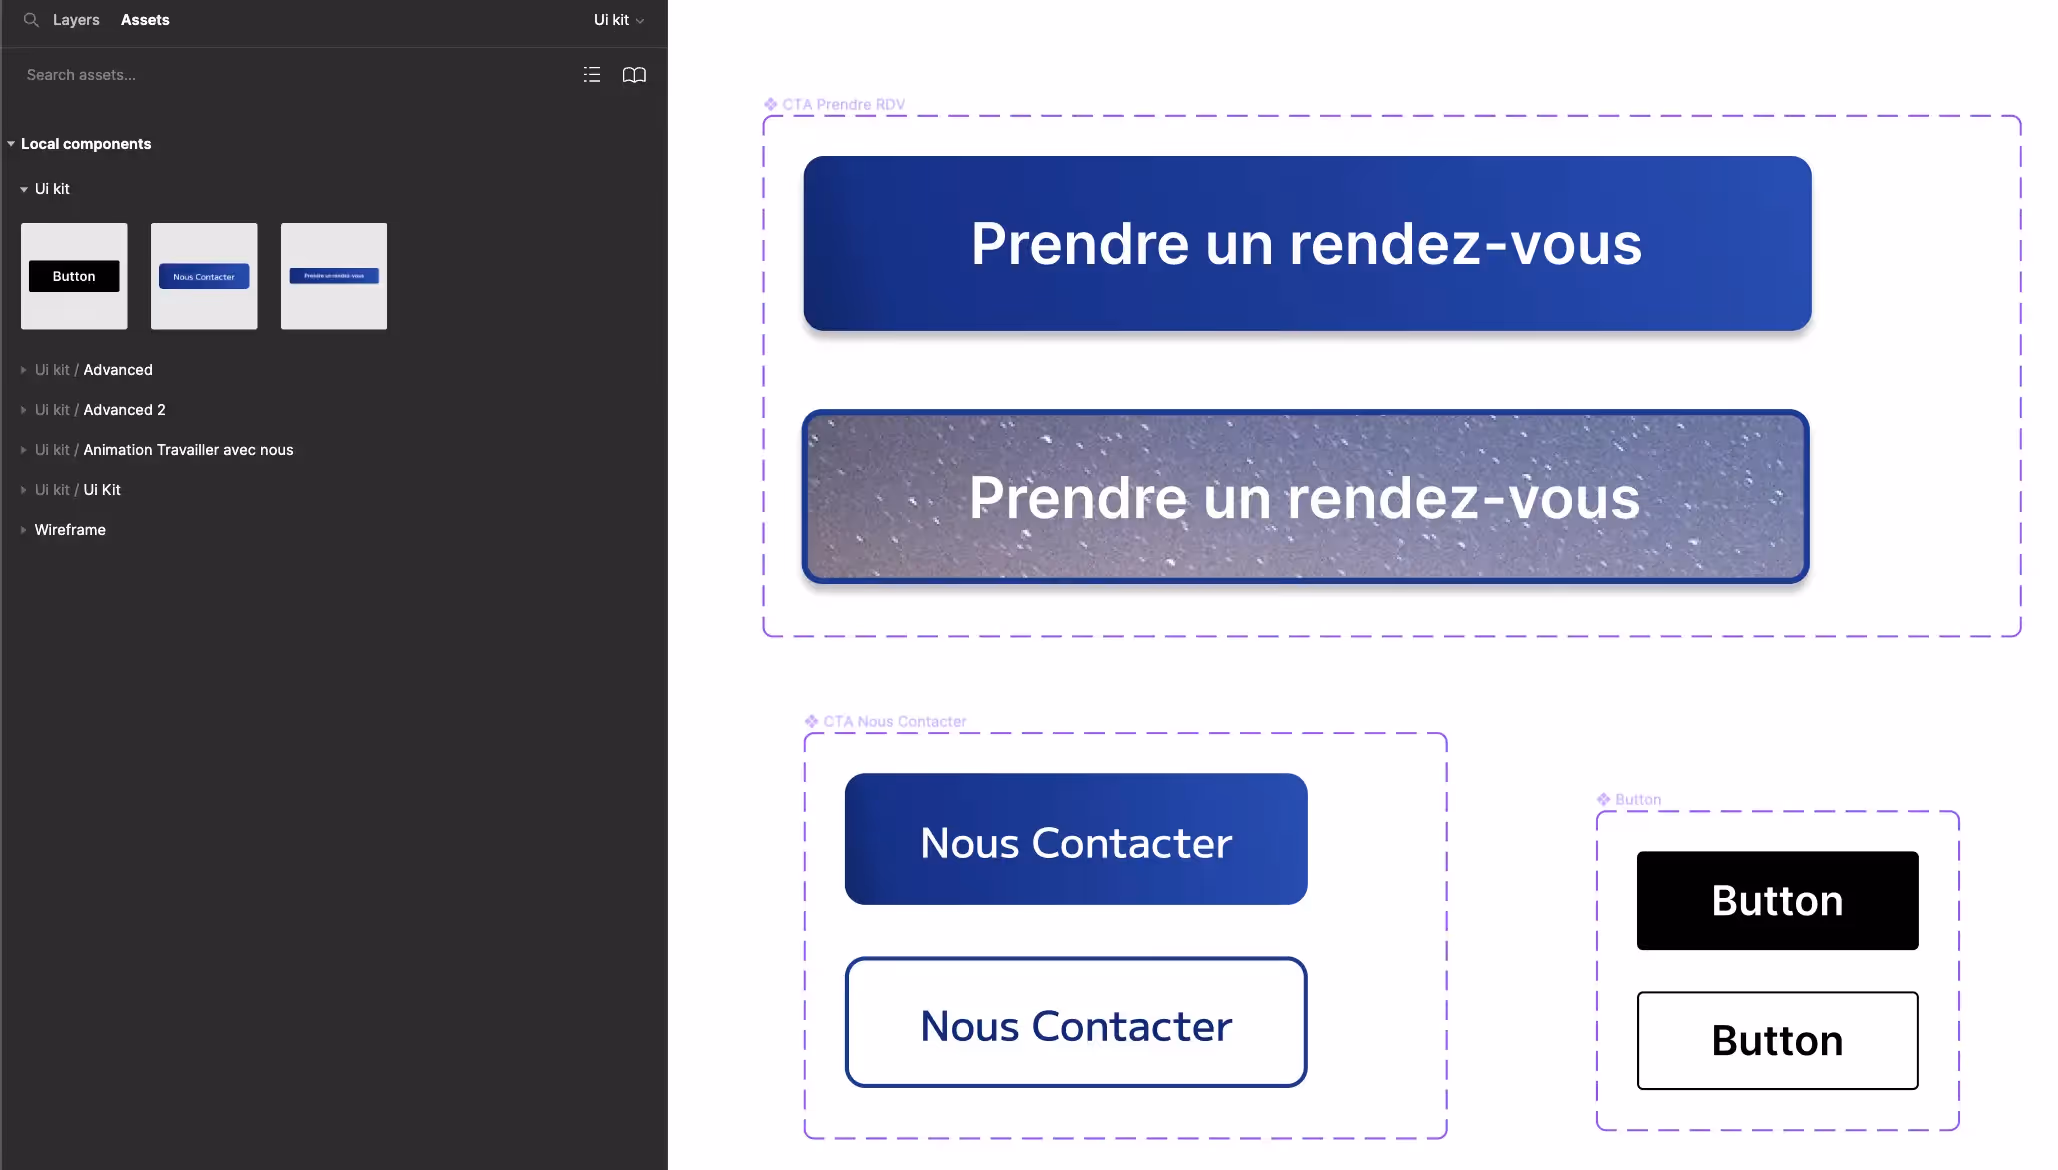
Once you have created and organized your components, you will be able to create variations of these components, known as variants. These variants are alternative versions of your component that will be used for animating your design's prototype.
For example, a variant of a dark button could be the same button but in a light color. We would define that the button turns light when the user's mouse hovers over it.
7. Explore the prototype feature
Figma's prototype feature is located at the top right of the workspace. This allows you toget a preview of what the project would look like if developed into a digital product.
This feature is ideal for presenting your mock-up or wireframe to prospects, clients, or other teams.
Figma offers a wide range of animations and interactions between the various elements of your mock-ups.
Page transitions, button and element animations, color changes… The possibilities are endless.
We encourage you to test, iterate, and reiterate to bring your mock-ups to life!
This way, you'll not only impress your audience but, most importantly, facilitate the work of development teams!

8. Collaborate Effectively
Figma is a wonderful tool for collaboration and teamwork. Various document sharing modes allow you to manage access and permissions for other users on your projects.
Furthermore, each user can add comments to mock-ups and discuss in real-time.
Finally, in advanced versions of the tool, it's possible to communicate directly via audio with collaborators when in the workspace.
It's also for these reasons that it's equally important to properly organize your workspace!

9. Using plugins
Figma's user community is vast and supportive. Many individuals and companies contribute to improving the tool by creating all sorts of plugins.
These plugins are mostly open-source and free.
As a reminder, a plugin is an auxiliary program that allows you to easily perform a specific task on a given tool. They are therefore simply programs forassisting with long or complex tasks.
Unsplash, for example, allows you to directly load photos from Figma, without having to search on Google.
Plugins are valuable for a complete and optimized use of Figma.
That's why we've written an article explaining everything you need to know about Figma plugins, as well as a top 10 essential Figma plugins.

10. Always keep learning and challenge yourself!
You were curious enough to look for an article on how to get started with Figma. That's a good start.
Continually seek to learn more, challenge yourself, and perfect your mastery of Figma and design!
Trends, uses, and best practices are constantly evolving.
Your ability to stay up-to-date, or even anticipate future practices and trends, might soon allow you to be an instigator of them!
For now, if you want to deepen your general knowledge in Design, we've also written an article that explains everything you need to know about web design.


See also our other articles
Let's discuss your needs
Are you looking for a web agency for your project? Contact us and find out how we can help you.