Figma Prototype: A complete guide to Figma's Presentation Mode

.avif)
.avif)
.avif)
.avif)
A Figma prototype refers to the presentation feature offered by Figma.
This feature allows you to animate an existing design to present it to a team or testers, for example.. This way, you present a version that is as close and faithful as possible to the one that will be developed.
If necessary, you can consult our Figma introduction article and our article explaining how to create a successful Figma design before reading the rest of this article.
I. Figma Prototype - Feature Overview
1. What is the Figma Prototype feature used for?
Using the Figma prototype allows you to present your design professionally and cleanly, as if you were on a live website.
This feature provides a different display from your workspace. All buttons and panels related to editing your work disappear. You can then add interactions between the elements of your design.
In presentation mode, the screen now displays a device featuring your design. You can interact with it using the interactions created via the prototype!
This way, your testers, clients, and collaborators can most effectively visualize what the developed project will look like. Furthermore, this interface remains fully collaborative : all users can add notes, comments, and discuss the viewed design.
The Figma prototype is therefore an excellent way to refine your presentations to save time and boost productivity for all teams involved in your projects.

2. The two types of prototypes
- Static Prototype:
A static prototype is a purely visual prototype. It allows you to "scroll" through a complete page and thus get a preview of the intended aesthetic for that page. It saves time but does not offer a complete navigation experience.
- Interactive Prototype:
An interactive prototype closely resembles a website. Many elements within it are clickable and animated; the user can experience an almost complete navigation path. This type of prototype is more beneficial for both testing and presentations. However, it is much more time-consuming and technically complex to set up.

3. How to use the Figma Prototype feature?
Regardless of the type of prototype you wish to create, using the presentation mode is the same. The only difference lies in the preliminary work done on your design and the interactions you can have with the presentation.
To display your design's interactions, click on "Prototype" in the top right corner of your workspace. You can modify some settings there.
To launch the Figma presentation, simply click the triangular arrow located in the top right corner of your workspace. A new tab will then open with the Figma prototype in presentation mode.

4. Fundamental tips for creating a smooth and ergonomic Figma prototype
- Define a frame width to use for all your frames (corresponding to the screen width on which you will make your presentations).
- Organize your frames to have a logical view of the various pages of your mockup.
- A mockup is viewed like a website, from top to bottom. Therefore, remember to make the elements that should be fixed during navigation 'fixed'. To do this, click on the element to fix, then on the Prototype tab. In the 'Scroll Behavior' section, choose the 'Fixed' position.
- Remember to use grids in your frames to maintain the same organization and margins across your pages.
- For an optimal experience, it is essential to place all your resources away from your mockup (UI Kit, photos, components, etc.). Ideally, on another page (layer).
Now that you know these fundamentals, you are able to create a functional and effective static prototype. We will now go further and learn how to create interactive prototypes.
II. How to create an interactive prototype in Figma?
Three methods are available to you for working on the animations and interactions of your prototypes. These methods are complementary, so they can be combined.
1. Interactions of the Figma Prototype feature
To add interactions and animations to your static prototype and make it interactive, you can leverage the full potential of the prototype feature.
A. Organizing frames and their content in Figma
The elements used in your frames must be grouped logically, and the hierarchy between elements must be perfect. Indeed, you will create interactions from existing elements. It is therefore necessary that these elements are easy to use.
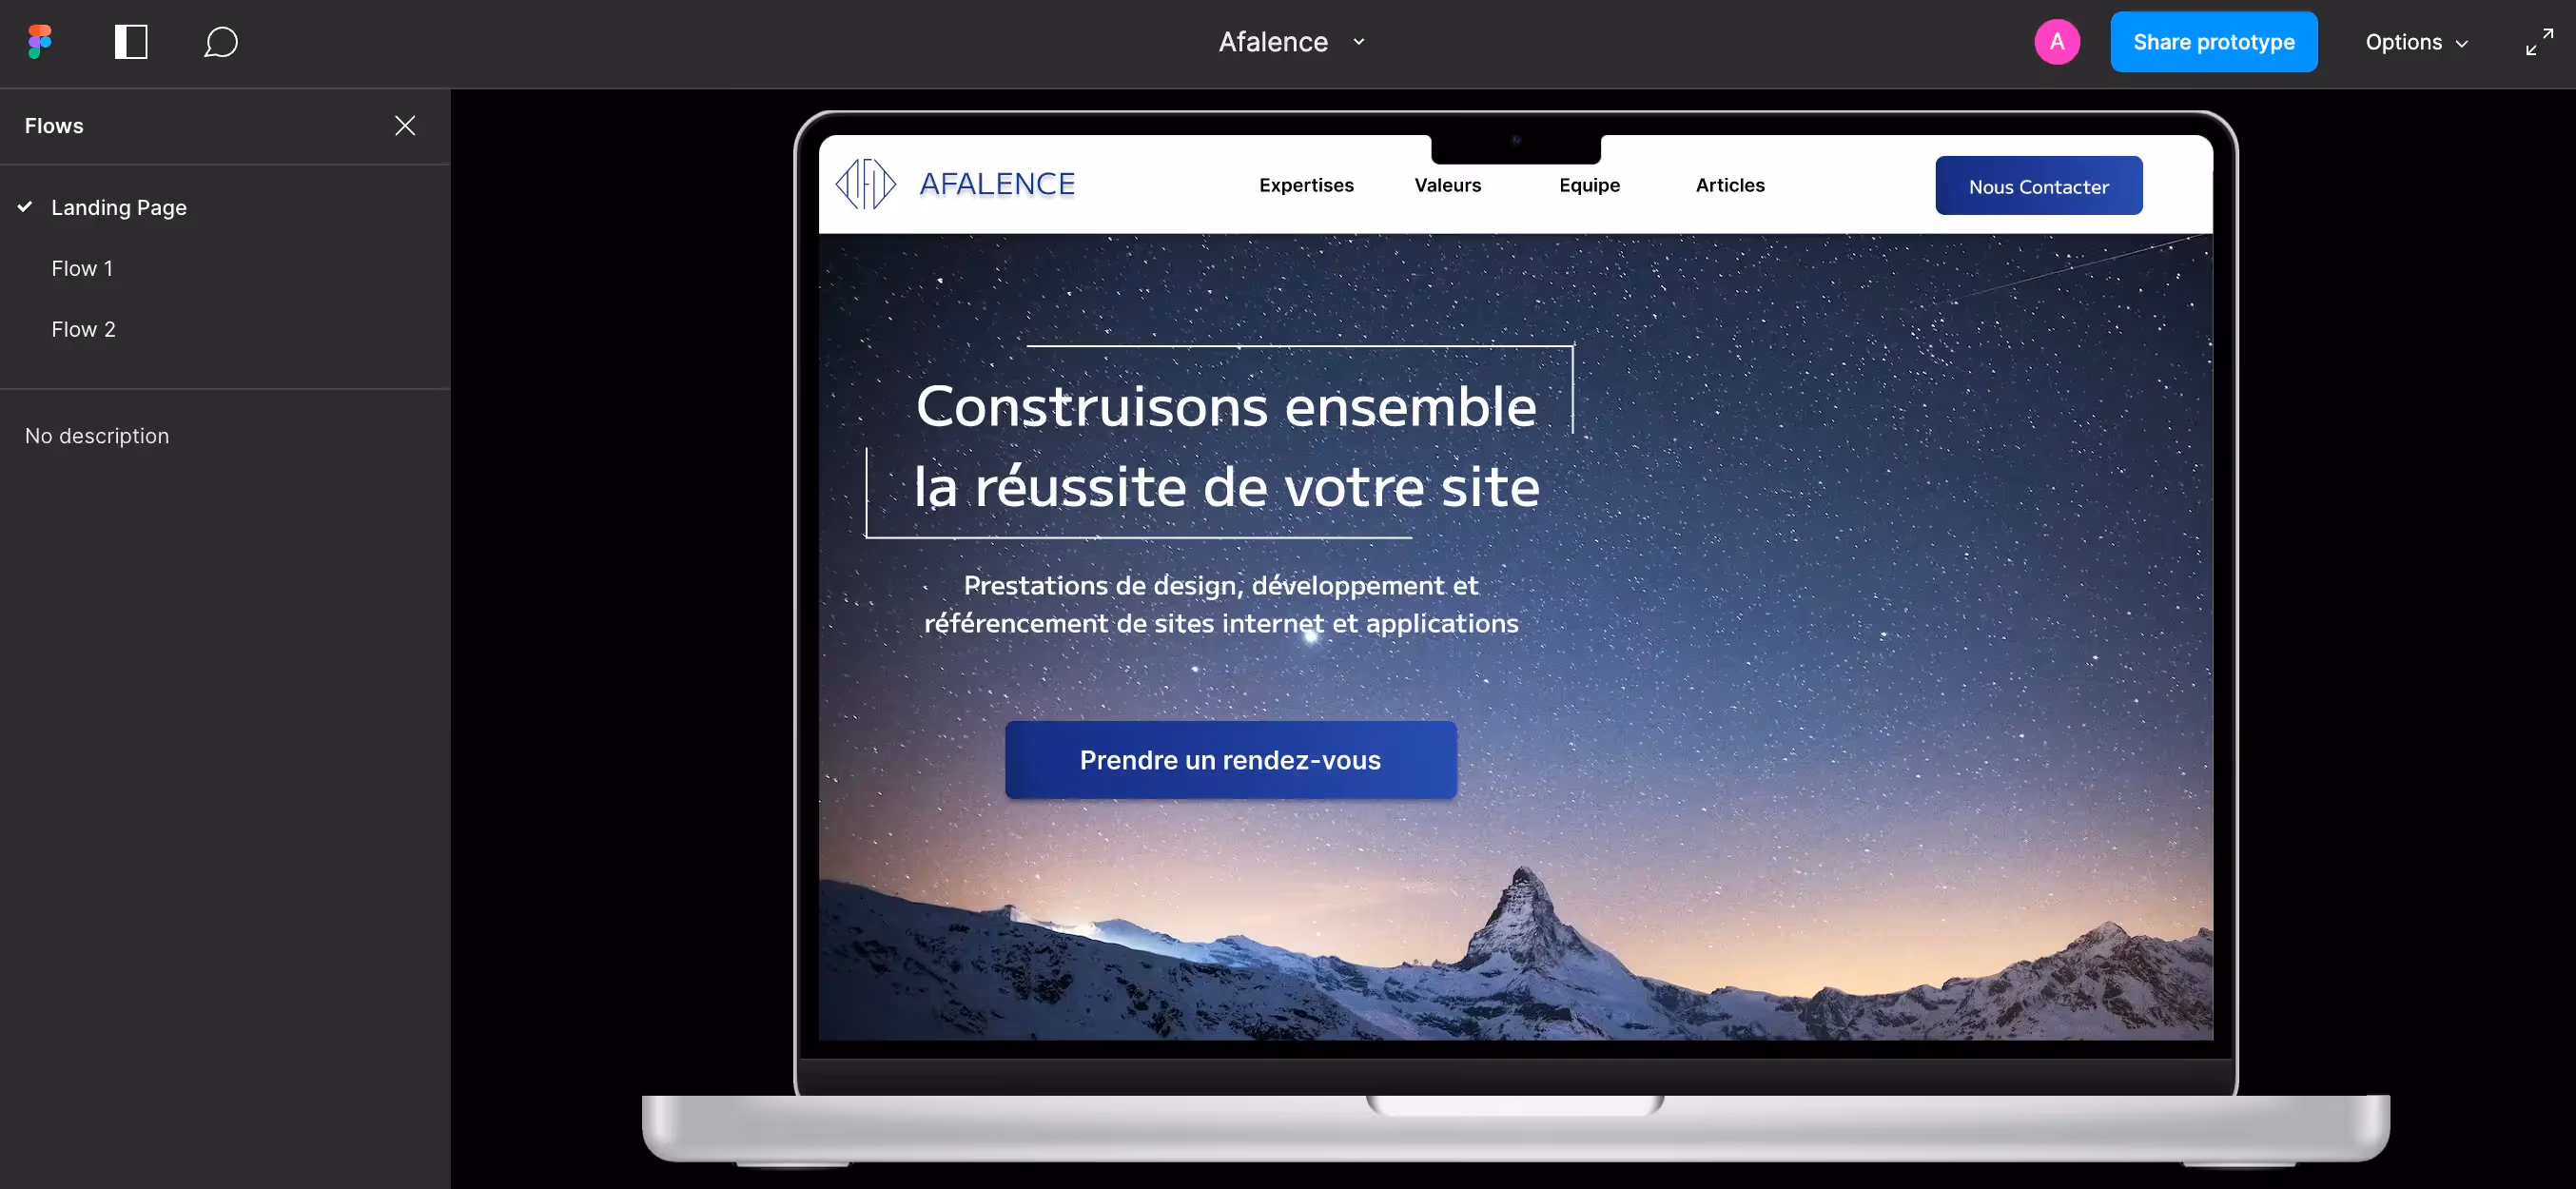
B. Creating Flows in Figma
Now that your frames are organized with each other and their content structured, you can define "Flows". Consider a "Flow" as a given user journey.
For example, the 1st Flow of a website mockup generally starts on its homepage. We will therefore click on the entire Frame corresponding to this homepage to assign it "Flow 1".
We can then create other starting points and other Flows for other specific anticipated journeys.
C. Adding Interactions Between Elements in Figma
In order to navigate within the Flows, you will add interactions to the elements that appear on your frames.
To do this, switch to the "prototype" interface. Click on a 1st element, then on a 2nd element for the first one to lead you to. You have now created an interaction.
You can change the settings of this interaction to adjust its trigger, duration, or even its form.

2. Using components to animate prototypes in Figma
To bring even more life to your prototypes, we recommend using components. In fact, using component variations allows you to add numerous interactions and animations to your mock-up presentations.
For example, creating multiple variations of a button can allow you to define distinct "hover" (mouse-over) and "click" effects.
Variants also enable you to implement dropdown menus, modify elements based on specific rules and triggers, or even make elements appear and disappear.
If you want to learn more about components, how to create a variant, and how to use them, check out our article on Figma components.

3. Enhance your Figma prototype work with plugins
The third way to help you with your Figma prototype presentations is to use appropriate plugins.
If your knowledge of Figma plugins is limited, we have written an article on what Figma plugins are and how to use them.
Many plugins can assist you in creating and elevating your presentations. Here are a few:
A. Create reusable interactions in Figma using a plugin
Protofly is a plugin that allows you to define interaction types and reuse them at will by applying them to the appropriate elements. Very useful, especially if you're working on multiple projects or large projects.
B. Exporting Figma elements for presentation on other media
Pitchdeck Presentation Studio is a plugin that allows you to easily and simply export your frames in various formats and with interactions.
This can be useful for presentations without an internet connection or for sharing mockups with partners who don't have access to Figma.
Tip: if you simply want to share a mockup preview, you can already do so from the launched prototype (using its link) or by exporting your frames as PDFs directly from Figma.
C. Simulating an element in a device or with a particular angle in Figma
To bring more life to your Figma presentations, you can attach the prototype presentation to preview simulations on all types of screens.
To change the tilt and orientation of a frame in multiple dimensions, use SkewDat, simple and effective (or Isometric, which is also simple but more austere).
To visualize your frames directly on computer devices and simulate a real display, you can use Clay Mockups 3D. This plugin has the advantage of being free and very easy to use, but its functionalities are relatively limited.
For particularly authentic and aesthetic mockups, two plugins are available to you. Be aware that you'll need to create an account to use them, and their free versions are very limited.
- Mockuuups Studio offers very realistic images with a high level of customization : device, background, with or without hands, viewing angle…
- Artboard Studio Mockups offers even more personalized images, including the ability to apply logos or visual elements to objects next to the displayed screens. However, it takes longer to set up and get used to during initial uses.

You now have everything you need to effectively create animated and interactive prototypes, as well as to present your prototypes to all audiences.
We recommend reading our article explaining how to create a prototype on Figma to ensure you already know all the best practices on the subject!

See also our other articles
Let's discuss your needs
Are you looking for a web agency for your project? Contact us and find out how we can help you.