All the necessary steps and information for creating successful mockups on Figma!

.avif)
.avif)
.avif)
.avif)
I. What is a Figma Mockup?
1. Definition of a Digital Mockup
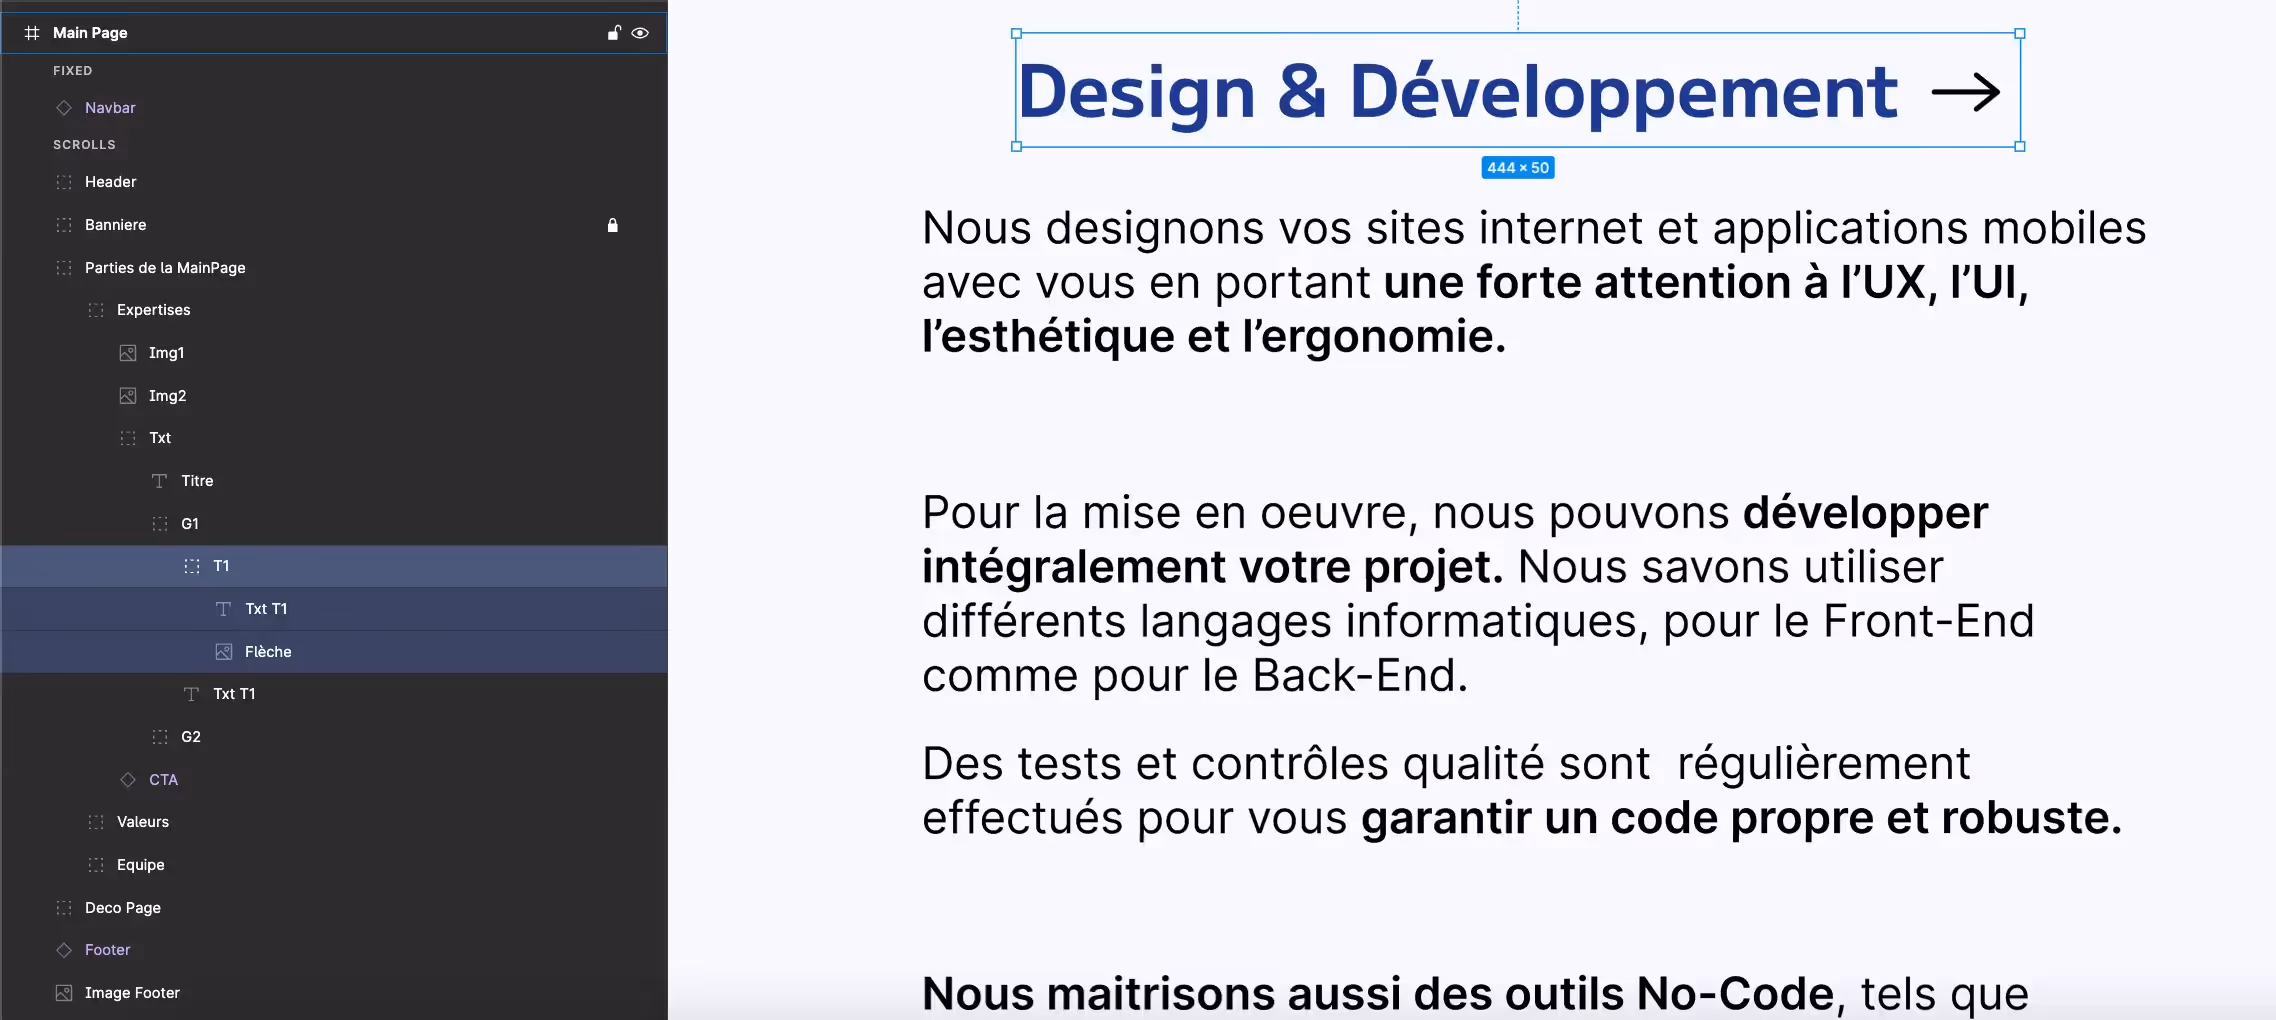
In the web industry, a mockup refers to the visual version of a digital project. Thus, when we talk about a website or application mockup, we are referring to its purely aesthetic, non-coded version.
Creating a mockup is a crucial and essential step for the success of a digital project. Indeed, it's when working on the mockup that user experience is considered. This involves carefully working on the architecture and structure of the upcoming project, as well as conducting in-depth research into the desired aesthetic.
Generally, here are the essential steps to create a successful digital mockup :
- Project objective framing: defining the project owner's expectations and needs
- Retrieval or creation of the brand guidelines to be used
- In-depth reflection on user experience
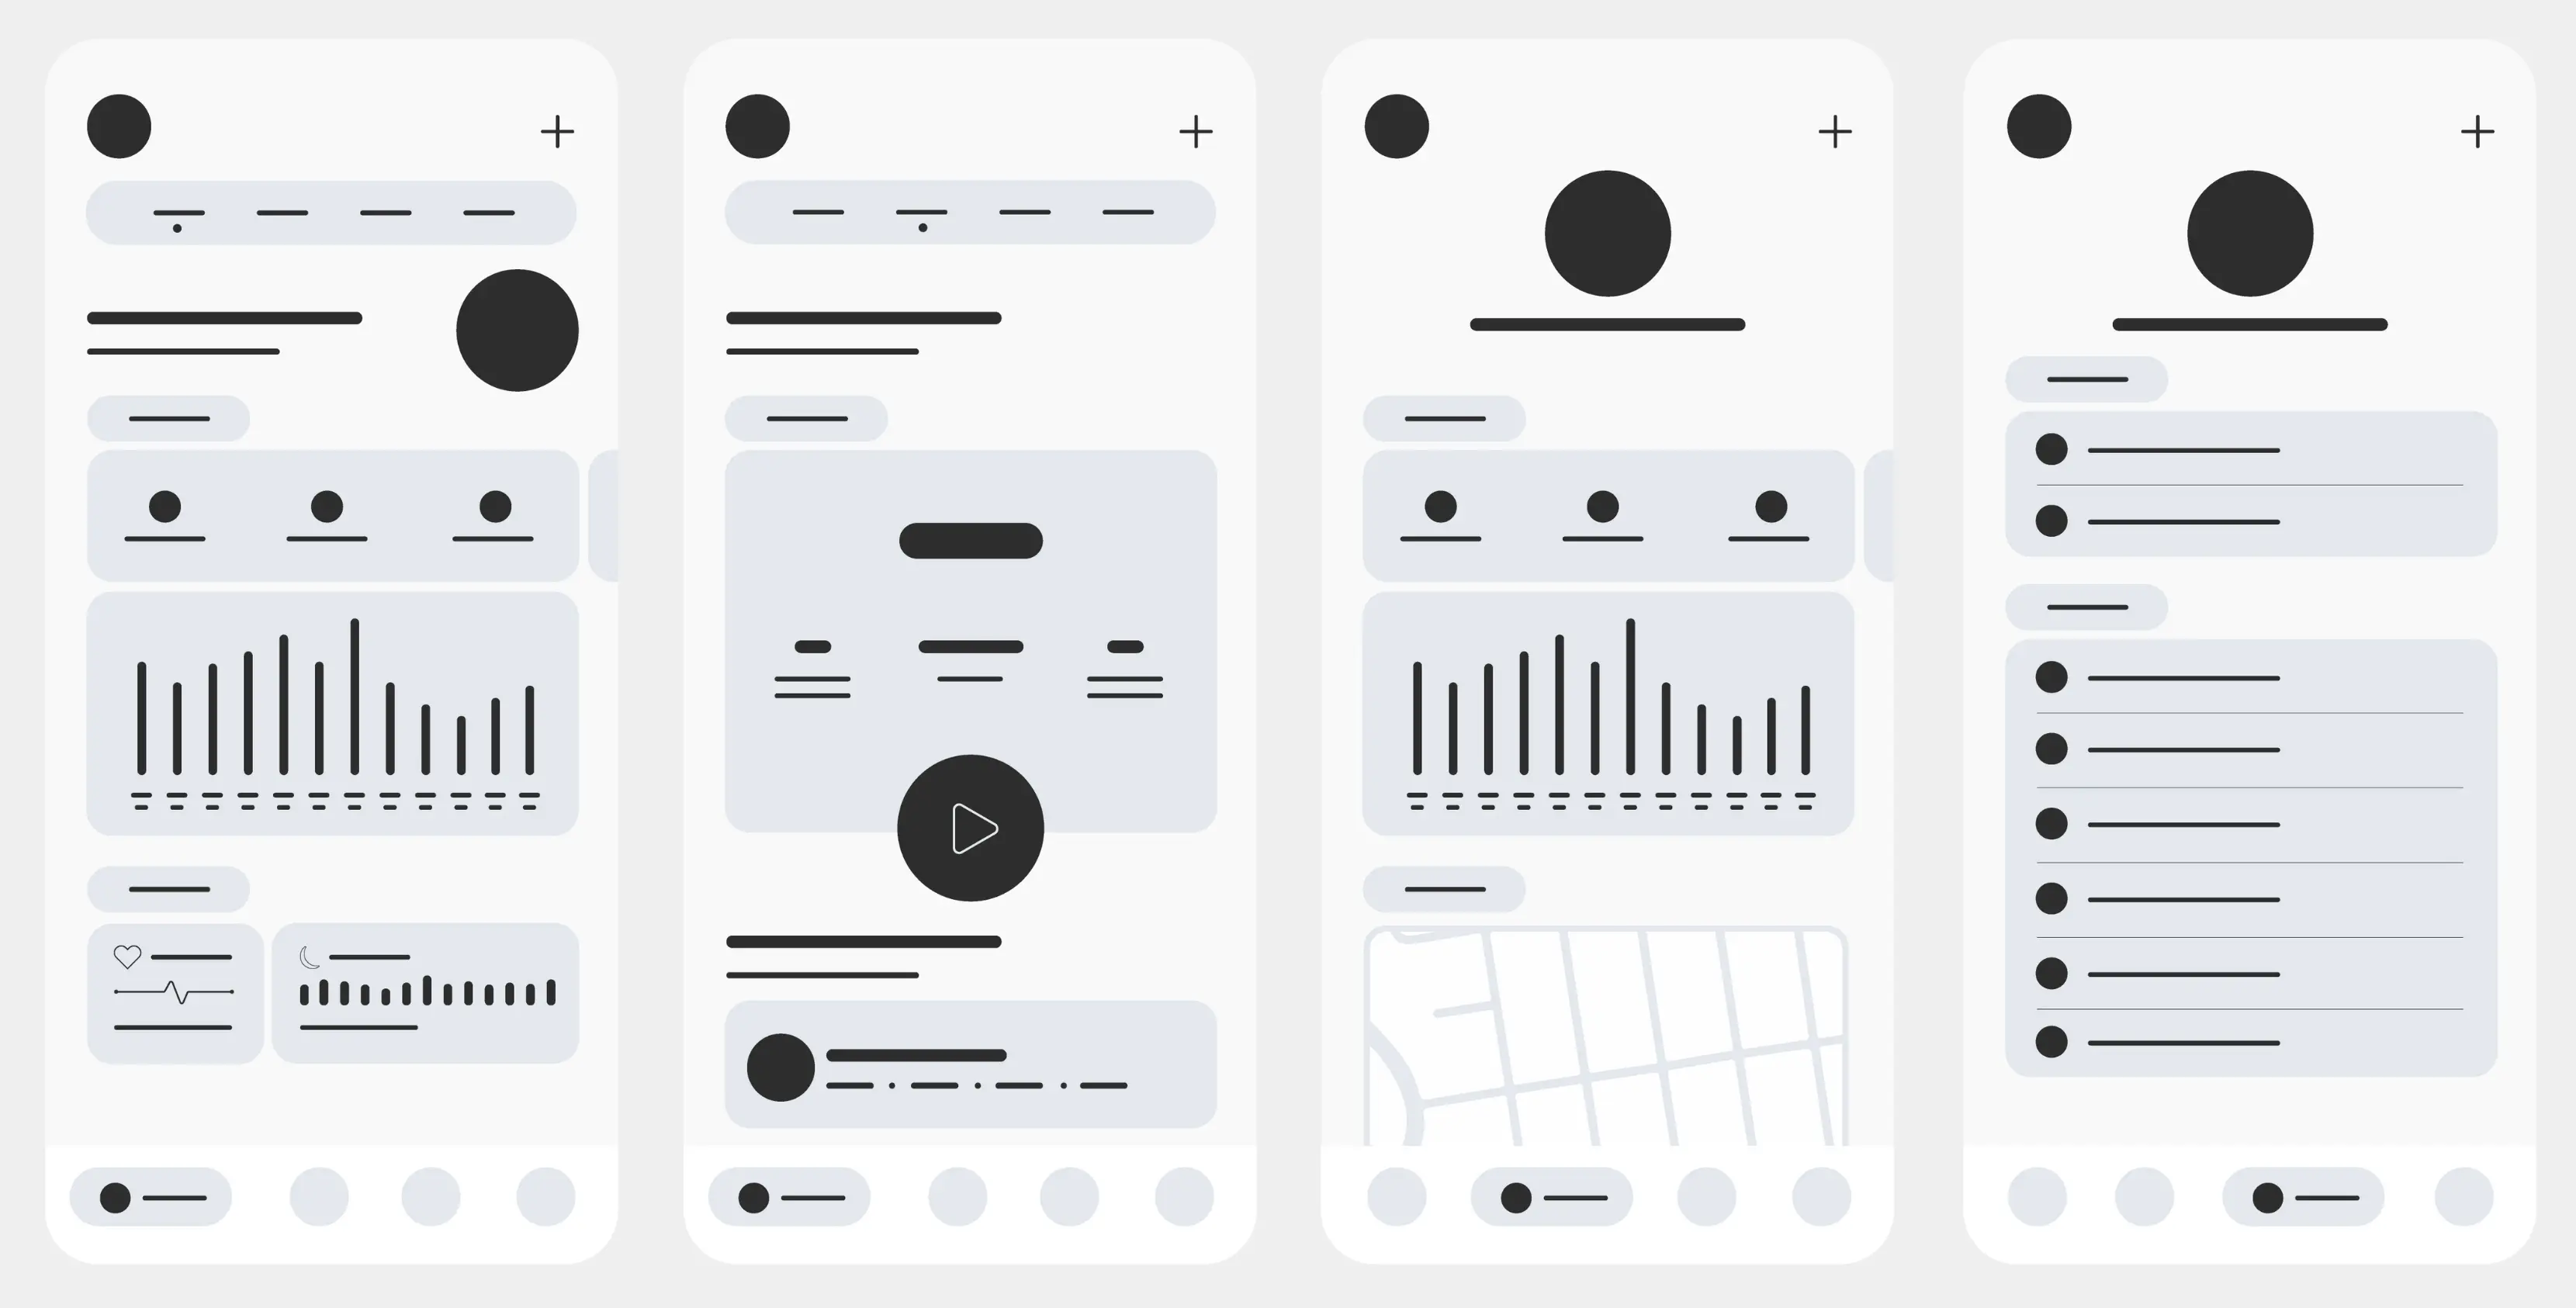
- Designing the wireframe for the upcoming project (the skeleton, the site's architecture)
- User testing to gather feedback on the envisioned experiences
- Developing the final wireframe into a design mockup
As these steps are numerous and varied, it is strongly advised to enlist the help of a professional web designer to execute and oversee the different stages.

2. What is Figma?
Figma is a particularly flexible visual and graphic design tool. It is a tool whose primary goal is to allow someone to design a digital project freely, efficiently, and optimally. It is comparable to Sketch or Adobe XD, for example.
It's a "no-code" tool. This means you don't need to know how to code to use it. To discover other no-code tools, you can check out our article on the best no-code tools in 2024.
Although relatively new, Figma is now universally acclaimed by professional web designers. It's recognized as the most powerful tool, offering designers the most freedom. We've also written an article on Figma's utility and advantages.

II. What are the steps to create a Figma mockup?
You're about to create your first Figma mockup. Congratulations! Here are the essential steps to ensure everything goes smoothly.
To create a mockup in Figma, you'll need to follow the essential steps for digital mockup creation that we discussed earlier.
Therefore, you need excellent organization to track and oversee all the actions you undertake.
Start by downloading Figma and reading our article that explains to you Getting started with Figma.
1. Organizing your workspace in Figma
Now that you have the basics, we can get started. To have a clear and organized workspace, follow these steps:
- Create a new project in Figma. Be sure to name the project.
- Create a page named 'UI Kit'. UI stands for User Interface. This is the page where you will store and design all the graphic elements you will frequently use in your work. This includes project colors and fonts, as well as buttons, navigation bars, logos, and more.
Tip: To rename an element, double-click its name in the workspace or double-click its name in the elements organization panel on the left.
- Create a second page named 'Wireframe'. As a reminder, the wireframe is the skeleton of the digital project, its architecture. This is where you will design and define the user experience.
- Note: Frame sizes and element organization will vary greatly depending on the project. For example, a mobile application will have very different characteristics from management software. Pour a website, consider the mobile interface from the very beginning of the project. You can create a dedicated page for mobile display or work on the desktop and mobile displays side-by-side.
Tip: Today, we often talk about "mobile first": designing the mobile version of a site first, then adapting it for the desktop version. This is often easier than the other way around.

- Create your first Frame. A frame is a workspace. We recommend applying a specific size to this frame that is suitable for the project you will be working on. Figma provides standard screen sizes in the "Prototype" tab.
- Name all elements you create during your work.
- Organize your elements into "groups" to clearly structure the different elements.
Tip: To easily group elements, the keyboard shortcut is Ctrl/Command + G.
- Consider creating components in your UI Kit so you can reuse the same elements. This also allows you to modify them all simultaneously and add animations or interactions to them.
- Create styles. Styles are predefined codes that allow you to apply specific settings to elements. Typically, styles are defined for text and colors. This ensures you only use pre-selected elements and guarantees visual consistency across different project elements.
- Step back. It's essential to clearly define the project scope. UX (user experience) research is crucial and should be conducted outside of the Figma project.

2. Creating the wireframe in Figma
Your workspace is well-organized. First victory. You must maintain this rigor during the design process to remain as efficient as possible.
The current task is to best frame the project to be designed. To do this, communicate with your project owner to best define their constraints, expectations, and needs.
This step is crucial. Research into target users and the desired experience is the foundation upon which you will build your wireframe design.
Indeed, as the skeleton of the site, the wireframe is intended to be the rawest version of the navigation experience you will offer. Therefore, you will work on user flows and site optimization to ensure it is intuitive and user-friendly.
This is where you will work on page architecture and the organization of elements within them. Strategically placing "calls to action" and effectively managing space will be crucial for a successful wireframe.
Tip: Be sure to define margins for your project. These are often incorporated using centered columns on the page. This means you commit to not extending beyond the defined space with anything other than graphic embellishments.
Once your wireframe seems complete, conduct user tests. There are many different types of tests; it's beneficial to apply several different ones to get a diverse overview of user feedback.
Incorporate the necessary changes into your wireframe and repeat the process to achieve the optimal user experience.
Tip: To make your wireframes as clear as possible, we recommend using a Figma plugin such as "Arrow Auto" or "Draw Connector." You can read our complete guide to Figma plugins and our top 10 essential Figma plugins to learn more about it.
Tip: It can sometimes be beneficial to create multiple wireframes and conduct similar tests on each. This is known as "A/B testing."
3. Transforming a Wireframe into a Mockup on Figma
Now that your wireframe is successful and optimized, all that's left is to flesh out the skeleton of your site!
You will be able to unleash your creativity and artistic flair to showcase the mockup you've created in the most beautiful way.
Keep in mind your target users and the positioning you need to convey. Having an aesthetically engaging and appealing website is one of the main components of a successful online presence.
Tip: We recommend staying well-informed in your work. Regularly look at new successful projects and consult projects related to your own to gather good ideas and avoid common pitfalls.

III. Frequently Asked Questions
1. Is a web developer also a web designer?
Web design skills are different from web development skills. The designer focuses on user experience and aesthetics to create an ideal product.
The developer brings this product to life. A developer alone will generally not be able to offer you a custom and personalized website because they will build your site from a 'template' (pre-existing model).
2. Why create a website mockup?
Creating a website mockup is an essential step to ensure the success of a website. It is during the mockup phase that user experience is optimized, which is key to creating an ergonomic and intuitive product that converts.
The mockup also allows for much easier modification and iteration of the design than on the developed site. It is therefore the best way to make changes and achieve the optimal result.
3. Why use Figma to create a website mockup?
Figma is currently the best tool for creating mockups for many reasons: it is modern, free, intuitive, flexible, and offers unprecedented freedom.
It offers a wide range of features, and the community creates many plugins that will assist you in using the tool. We have also written an article that explains everything about using plugins in Figma.
4. What is the difference between a wireframe and a mockup?
A website's wireframe is its skeleton, its structure. It defines the architecture, hierarchy, and organization of elements on the site.
The mockup is the aesthetically finalized version of the site, the wireframe styled and designed. It's the version of the site handed over to developers for them to reproduce as a coded website.
We hope this article has provided you with more insights into the steps required to create a successful mockup on Figma. We encourage you to check out other articles on the Afalence Blog to expand your knowledge about websites!

See also our other articles
Let's discuss your needs
Are you looking for a web agency for your project? Contact us and find out how we can help you.